
How to Organize Gardening Supplies in Bins: A Guide That Actually Sticks
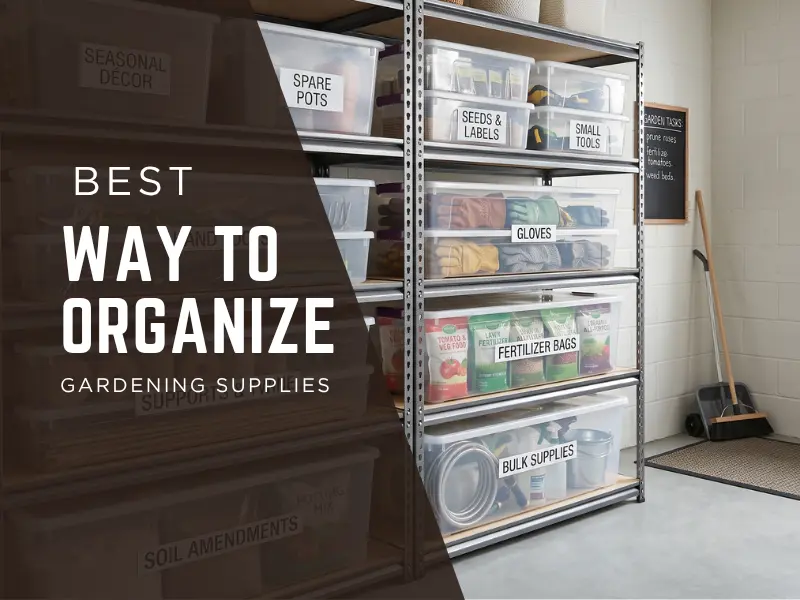
Quick answer: Sort your gardening supplies by category — hand tools, seeds, gloves, fertilizer, ties — then give each category its own bin sized to fit it. Clear, stackable bins on a raised shelf (never straight on the garage floor) keep everything dry, visible, and rust-free.
Here’s the thing nobody tells you about garden storage: it’s not the tools that get messy, it’s everything around them. A trowel and a pair of pruners take up almost no space on their own. But add in half a dozen seed packets from three different springs, a tangle of twine, gloves that never seem to have a match, and a bag of fertilizer that’s slowly leaking granules onto the shelf — and suddenly your shed looks like a garden center exploded.
If that sounds familiar, bins are the fix. Not any bins, though — the right bins, sorted the right way.
Why Clear Bins Beat Everything Else for Garden Storage
Cardboard boxes fall apart the second they get damp, and they get damp constantly in a garage or shed. Opaque totes hide their contents, which means you end up opening four bins to find one bag of plant ties. Clear bins solve both problems at once.
There’s also the pest angle, which honestly doesn’t get talked about enough. A sealed clear bin keeps mice out of your seed stock and stops silverfish from getting into paper plant tags — both of which happen more than gardeners like to admit. And because most clear bins now are BPA-free and made to handle outdoor temperature swings, they hold up a lot longer than the shoebox-and-tape system most of us started with.
Matching Bin Size to What You’re Actually Storing
This is where most storage systems fall apart — people buy one size of bin and try to cram everything into it. Gardening supplies don’t work that way. A seed packet and a bag of fertilizer have almost nothing in common, storage-wise.
| Supply Type | Bin Size That Works | What to Look For |
|---|---|---|
| Hand tools (trowels, pruners, shears) | Small-medium, 6–12 qt | A divider tray, so blades aren’t loose together |
| Seed packets & plant tags | Small, 2–6 qt | Shallow depth — you want to flip through, not dig |
| Gardening gloves | Small, 4–6 qt | Open-front design so grabbing a pair is quick |
| Fertilizer & soil amendments | Larger, 20–30 qt | Airtight seal, ideally not clear if it’ll sit in sun |
| Plant ties, twine, stakes | Medium, tall and narrow | Height over width — stops everything from tangling |
| Pots and trays | Large, 30–45 qt | Wide opening for nesting stacks of pots |
A decent rule of thumb: whatever you touch every time you garden (gloves, hand tools) goes on the shelf at arm height. Whatever you touch twice a season (bulk soil, spare pots) can live higher up or further back.
Sorting It All Out: Organizing by Category
Hand Tools and Pruning Gear
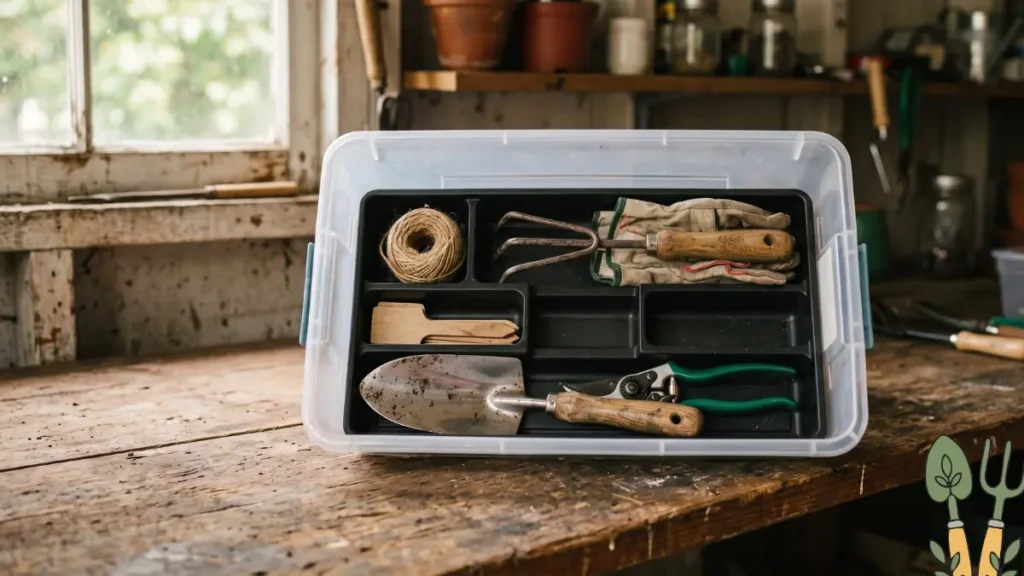
Trowels, hand rakes, pruners, shears — these all want to live in one bin, ideally with some kind of divided insert so the blades aren’t rattling around loose. Dry them off before they go in. Skip this step and you’ll open the bin in spring to find rust spots you didn’t have last fall.
Seeds and Plant Labels
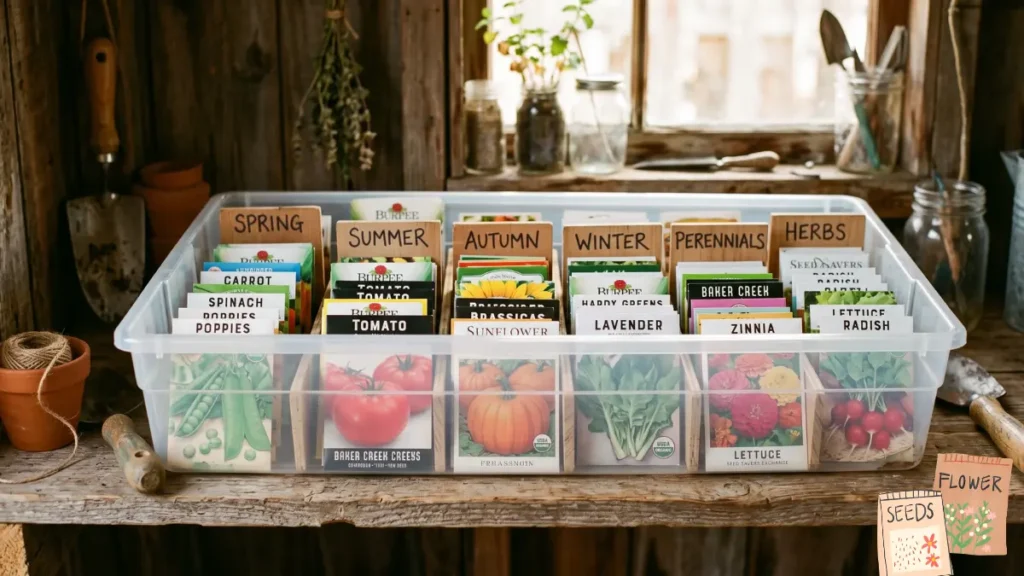
Moisture ruins seed packets faster than almost anything else you’ll store. Go shallow with this bin — you want to be able to flip through packets like a filing cabinet rather than dumping them all in a pile and digging. A lot of people sort by planting season inside the same bin (spring, summer, fall), and it genuinely saves time when planting season actually rolls around.
Gloves
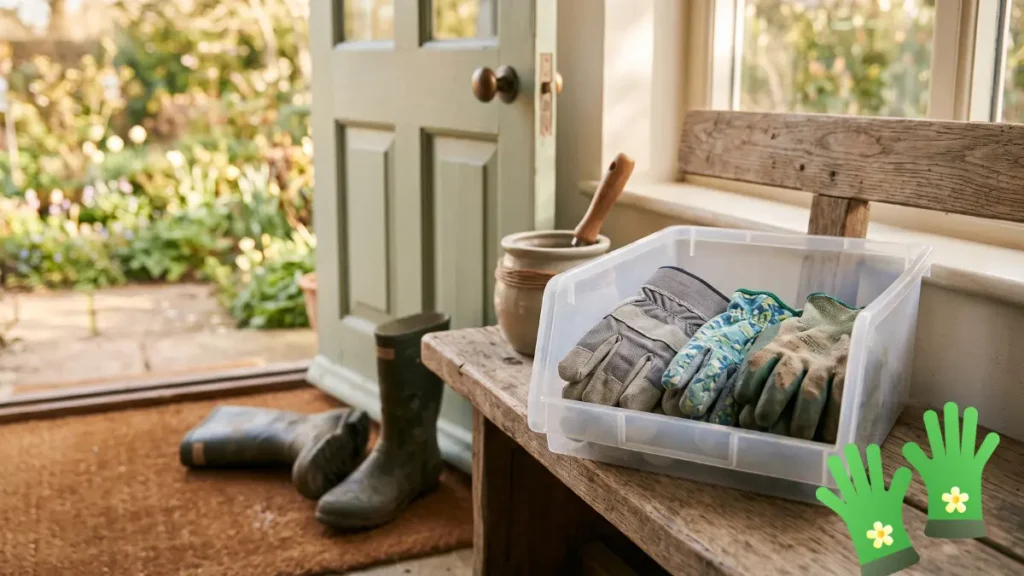
Gloves are the item that somehow never makes it into the system. They end up on a random shelf, one glove missing its pair. A shallow, open-front bin near whatever door you use to head outside fixes this almost immediately — and pair them up before you put them away, not after.
Fertilizer and Pest Control
Bigger bin, and this time, skip the clear plastic if it’s going somewhere sunny. UV exposure breaks down some fertilizers and pesticides faster than people expect. Keep the original label visible, or tape it to the lid, so the safety information doesn’t get lost the moment it goes in a bin.
Twine, Stakes, and Plant Ties
Small stuff like this scatters to the bottom of a wide bin and becomes impossible to find. Go tall and narrow instead. A little parts organizer inside for clips and ties helps more than you’d think.
Pots and Nursery Trays
Nest them by size, then toss them in a wide bin — this is really the one category where you don’t need an airtight lid, since pots don’t care about moisture the way seeds do.
Where the Bins Actually Go
The bin itself only does half the job. Where you put it matters just as much.
In a garage, get bins off the concrete. Concrete holds cold and moisture in ways that quietly damage anything sitting directly on it for months. A wall shelf, even a cheap one, solves this.
In a shed, temperature swings are the bigger issue — sheds run hotter in summer and colder in winter than most garages. Airtight bins matter more here, especially for seeds and anything fertilizer-based. If the shed floor isn’t raised, even a couple of pallets under your shelving unit helps.
If you’re working with a small space — an apartment balcony, a tiny patio closet — you don’t need the whole system above. Three or four small bins (tools, gloves, seeds, ties) stacked into a tower in a balcony storage box covers almost everyone’s needs. Go up, not out, when floor space is the constraint.
Labels That Don’t Fall Apart in Three Months
A system only works as long as you can tell what’s in a bin without opening it. Keep it simple:
Label by category, not by date or project — “Hand Tools,” “Seeds,” “Fertilizer.” Labeling by month means redoing the whole thing every season, and nobody actually does that twice.
Put the label on the front of the bin, not just the lid. Bins get stacked, and stacked bins hide their lids.
And skip paper labels if you can. They curl and fade fast in a humid shed. Laminated tags or waterproof stickers last years instead of weeks.
Stopping Rust Before It Starts
Rust is the single most common complaint people have about tool storage, and it almost always comes down to one thing: moisture trapped where it can’t evaporate.
A few things actually help. Dry tools completely before they go in the bin — don’t rely on the bin to dry them for you. Resist the urge to seal a damp tool in an airtight container; oddly enough, open air rusts metal slower than trapped humidity does. Tossing in a silica packet or even a piece of chalk absorbs whatever moisture is left. And if tools are going to sit for a whole season, a light wipe of oil on the metal heads goes a long way.
Questions People Actually Ask
What’s the best container for garden tools? A small or medium clear bin with a divided tray works best — it keeps blades from knocking into each other and lets you see what’s inside without opening it.
How do you organize garden supplies in a small shed? Sort by category first, then use raised shelving instead of the floor. Keep the things you use constantly — gloves, hand tools — at eye level, and push bulkier or seasonal stuff higher or toward the back.
Should fertilizer go in a clear bin or an opaque one? Opaque, generally, especially if it’s stored anywhere near sunlight. Heat and UV break fertilizer and pesticides down faster than people realize.
How do I stop garden tools from rusting in storage? Dry them fully before storing, don’t seal them up damp, and add a silica packet if you want extra insurance against leftover moisture.
Conclusion
Sort by category before you buy a single bin. Size the bin to the item — small for tools and seeds, bigger for fertilizer and pots. Go airtight for anything moisture-sensitive. Keep bins off the floor, no exceptions. Label the front, not just the lid. And always, always dry your tools before putting them away.
Do that much, and the “garden supplies explosion” corner of your garage actually stays gone.